Lighting Small Spaces: Blocking + Grip Playbook (2026)
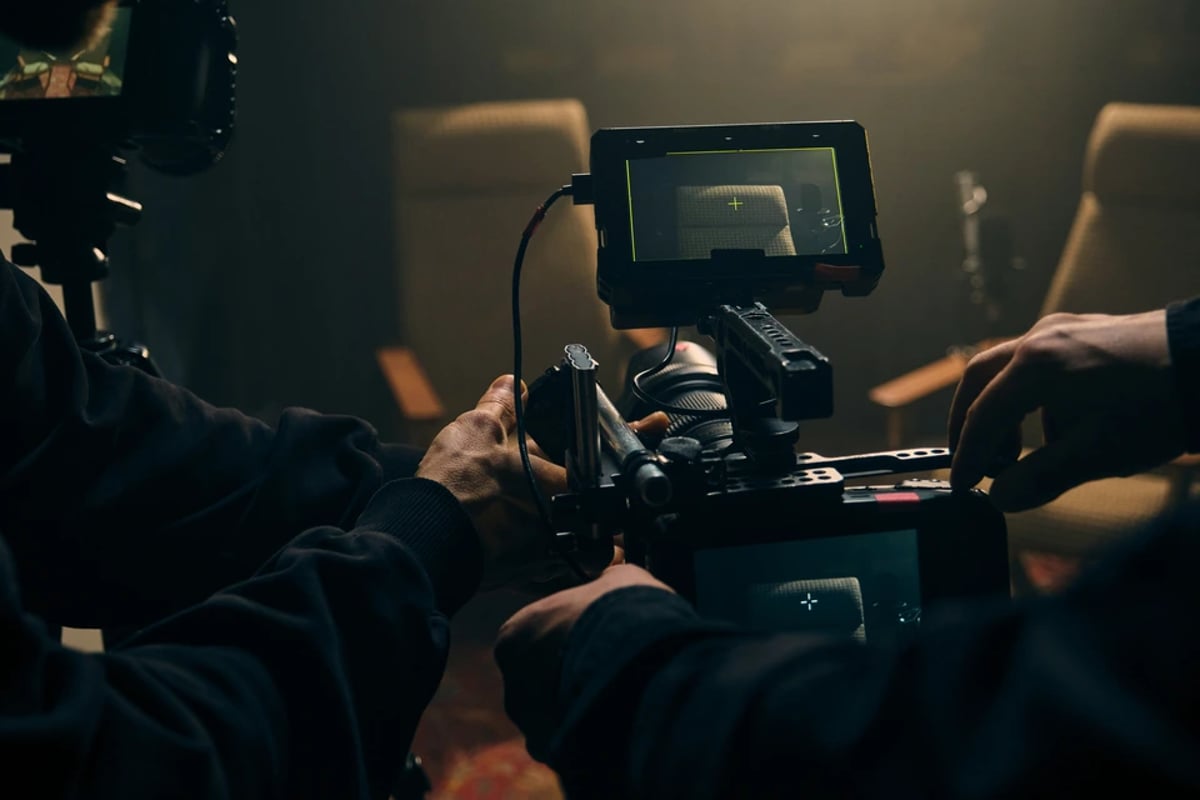
Small rooms collapse the wall between blocking and lighting. Every stand you plant eats a blocking option, every actor mark eats a light angle, and every reflective surface turns into a fixture-hunting mirror. This guide is the playbook professionals use to keep pace in cramped practicals: pre-block on a scaled plan, get lights off the floor with clamps and boomed arms, key with soft, dimmable COBs, kill overheads and gel practicals to one color temperature, and lock a fast fall-back setup so you always get the day. Written for directors, DPs, gaffers, and key grips who work in apartments, offices, hallways, and vehicles.
For the broader process, see the Lighting and Grip Masterclass: Prelight Strategy to Set Execution.
---
Table of Contents
1. Spatial Strategy: Pre-Blocking and Layout
---
Spatial Strategy: Pre-Blocking and Layout in Small Rooms
In small spaces the traditional separation between blocking for performance and lighting for mood collapses. Actor, camera, and crew positions dictate where lights, stands, and cables can physically live. Ignore that and you get stands in frame, cable runs across walkways, and eyelines that fight the key.
Start with a scaled ground plan. Hand-drawn on 1/4-inch graph paper is fine; teams working larger scenes use Cine Tracer or Shot Designer to test lens choice against blocking before the truck rolls. Mark camera axes, lens focal length (a 25mm on Super 35 in a 10x12 room forces very different mark placement than a 40mm), actor marks, door swings, window positions, ceiling height, and "no-go zones" where equipment cannot live. Assign the 1st AD or key grip to run traffic control in the room so only essential crew is inside for each setup.
Clearance is safety, not comfort. OSHA 29 CFR 1910.36 requires a minimum 28-inch exit access width; keep at least that on any path an actor or crew member will use, and never block the primary egress with a stand or cart. Once C-stands are set, treat them as fixed obstacles and block around them, not the reverse.
The most efficient blocking anticipates the light. Align faces with existing practicals (window, table lamp, sconce) so you augment rather than fight the source. When space is severely limited, block actors near light-colored walls that can serve as bounce; the room itself becomes the modifier.
> Pro Tip: Use height, not footprint. Clamp fixtures to shelving, doorframes, and wardrobe tops. Every foot of floor you save is a foot of blocking or dolly travel you keep.
Common early-phase mistakes: blocking purely for performance and jamming lights in afterward; ignoring ceiling height (an 8-foot residential ceiling kills most overhead options unless you plan for it); and letting too many bodies in the room. During tech rehearsal, walk "light-safe zones" with talent and mark the positions that work for both performance and key direction, then define default eyeline lanes so continuity holds across coverage.
Compact Lighting in Cramped Interiors
In tight rooms the priority shifts from output to quality and placement. Replace bulky fixtures and 4x4 diffusion frames with small, soft, controllable sources mounted off the floor.
Key placement stays classic: roughly 30-45 degrees off camera axis, slightly above eye level, angled down. What changes is the modifier discipline. A bare LED at 3 feet is a specular disaster on skin. Use a softbox, umbrella, or muslin/216 diffusion between source and subject on every close-distance key. At sub-6-foot throws, add a second layer of diffusion (a 4x4 frame with 250 or a book-light setup with a bounce and a floating diffusion) and accept the stop loss.
Fill and separation often come for free. Bounce the key off a white wall or ceiling and you have a soft ambient fill without a second stand. A low-intensity edge from a tube light behind the subject gives separation without cluttering the floor.
Kill the overheads. Household fluorescents and LED can lights typically land at 3000-4000K with mediocre CRI (often 80-85) and off-axis green, which fights any fixture rated CRI 95+/TLCI 95+. Turn them off, then re-introduce controlled ambience through dimmable practicals with bulbs you selected: 2700-3000K tungsten-look LEDs for warm interiors, 5000-5600K for daylight scenes, dimmable to 10% or lower so they read on camera without clipping.
Current workhorse fixtures for this space (as of 2026):
- Small COB keys: Aputure Amaran 100x S / 200x S, Aputure LS 300X, Nanlite Forza 60C / 150B. All accept Bowens-mount softboxes; the bi-color and RGBWW variants let you match practicals without gels.
> Pro Tip: Bounce the ceiling. Point a 200-300W COB straight up into a white ceiling and the whole room becomes a soft toplight source. It is the single fastest way to get flattering ambience in a 10x12 with no room for a book-light.
Common mistakes: bare LEDs at close range; over-lighting (more fixtures rarely means better images in a confined space, they just add spill, heat, and reset time); and ignoring dimmability, which forces awkward ISO or aperture compromises. Hide the fixture, reveal the light: tuck units behind furniture or above sightlines and let the bounce or diffusion be the hero. For deeper control theory, see Soft Sources Explained: Book Lights, Bounce, Diffusion, and Control.
Grip Techniques for Mounting Without Floor Space
Grip work is what makes tight-room lighting possible. Take it off the ground, get it above sightlines, and hide it behind architecture.
Clamps are the backbone:
- Cardellini (end-jaw and center-jaw): grip pipes, doorframes, chair backs, and set pieces. Working load typically 30-40 lb depending on model; check the manufacturer rating and never exceed it.
When you must use stands, downsize. Kupo baby stands, Matthews MiniMax, and 20-inch C-stands take up a fraction of a full 40-inch C-stand's footprint. Sandbag every C-stand base, even in a bedroom. A tipped stand into a wall or a laptop is a producer conversation you do not want.
Exploit architecture. Doorframe rigs, shelf clamps, and a hallway "goalpost" (two heavy stands spanned by speed-rail or a Matthews Menace Arm) give you overhead placement without eating floor. Every overhead rig gets a safety cable rated to the fixture weight, run to an independent anchor point. Above-door rigs stay clear of the door swing and never block egress.
Flags are your subtraction tools. In small rooms with bright walls, a 24x36 or 18x24 solid does more for the image than adding another fixture. See Grip Toolkit: Flags, Nets, Frames, and the Why Behind Each for the full theory.
> Pro Tip: Build a cheap ceiling rig. Two heavy stands, a length of 1-1/4 inch speed-rail spanned across the top with pipe clamps, safety cables to each end. You just gained an entire ceiling worth of rigging real estate for the cost of a rental line item.
Common grip mistakes: floor-stand-only thinking that chokes movement lanes; skipping safety cables on doorframe or overhead rigs (a door slam or a bump into a set wall drops the fixture); and ignoring negative fill in reflective rooms. Cable runs must be planned before lights land: dress along baseboards, under rugs with cable protectors, or over doorways with hooks, and use cable ramps on any actor or camera path. For rigging protocol depth, see Rigging Safety Fundamentals: Overhead, Power Runs, and Set Protocols.
Blocking and Lighting Collaboration Workflow
Cinematographer and gaffer decisions must sync with the director's and AD's blocking choices. Change one, and the setup breaks. Collaboration is not a nicety in a 10x12; it is the schedule.
Start with a joint tech rehearsal in the actual room. Director, DP, gaffer, key grip, and 1st AD walk it together with stand-ins. Run "scratch lighting" with one or two fixtures to test direction, identify glossy tables, mirrors, TVs, framed art, and windows that will need flagging or dressing. Catching a wall-mounted TV that reflects the entire lighting rig now, not on take 3, saves an hour.
Set the base lighting environment before finessing marks: primary key direction, general ambience, practical levels. Once that foundation exists, actor marks can layer on top without re-lighting every micro-adjustment.
Document with a reset map. Photos of ideal fixture and stand positions plus labeled tape marks let the crew return to hero configuration after complex coverage. On multi-day shoots in the same location, the reset map is what saves day two.
Shot Designer, Cine Tracer, or Vectorworks Spotlight share diagrams across the team. Small on-set monitors (SmallHD Indie 5 / 702 Touch, Atomos Shinobi) let director and DP see exposure and composition as blocking shifts. Keep a clear radio hierarchy: director or AD calls blocking adjustments, DP or gaffer flags which changes require re-lighting so resets are scheduled honestly rather than promised at "two minutes."
> Pro Tip: Lock eyelines early. Treat eyeline and key direction as a single package decision. Once it is set, it stays set across all coverage. Chasing light on every angle is the fastest way to lose the day.
Common collaboration failures are siloing: director blocks without the DP, gaffer lights without watching a rehearsal, a last-minute "have them sit instead of stand" invalidates the ceiling bounce direction. Without shared notes, each angle gets slightly different light, and the edit tells on you.
Two mitigations that pay for themselves. "Lighting-safe marks" from the gaffer: additional floor marks where the light still holds if actors drift, communicated to AD and cast. And a fast fall-back setup, a ceiling bounce plus a practical, rigged first, so if the schedule collapses you still get usable coverage. For camera-side choreography, see Camera Movement Execution: Grips/Ops Choreography and Rehearsal Method.
Controlling Contrast, Color, and Reflections in Small Rooms
Small sets amplify everything. Walls, ceilings, and furniture sit inches from talent, so contrast, color cast, and reflective surfaces need active management.
Contrast. White-walled rooms self-bounce and flatten naturally; heavily dressed dark rooms produce harsh shadow patterns. Shape with flags and bounce, not more fixtures. Negative fill is the single strongest tool: an 18x24 or 24x36 black solid positioned on the fill side of a face pulls contrast back without touching the key. See Negative Fill Mastery: Shaping Faces With Subtraction.
Color. Mixed sources are the enemy of a clean image. Pick one dominant color temperature (typically 3200K interior night, 4300K interior with mixed light, 5600K daylight), then gel or replace every source that fights it. Rosco/Lee CTO, CTB, Plus Green, and Minus Green rolls are the survival kit; grid cloth, 250, and 251 handle diffusion. A Sekonic C-800 or C-700 color meter reads Kelvin, CC index, CRI, TLCI, TM-30 Rf/Rg for practicals and window light so you match numerically instead of by eye. Bi-color and RGBWW LEDs (Aputure, Nanlite, Astera) shortcut this with gel-match modes, but only if you calibrate against the practical you actually have in frame.
Backgrounds. Watch luminance separation. High-contrast wall patterns near faces pull the eye; use the on-camera waveform and false color to confirm the face sits at least a stop above busy background elements. Vectorscope catches slow color drift between angles that a monitor lies about.
> Pro Tip: Flag reflective surfaces before removing them. Rather than rearranging production design, plant a black solid off-frame to kill the glare. The set stays intact, the shot stays clean.
Common failures: ignoring TVs, mirrors, framed art, and glossy tables that reveal fixtures or crew as blocking shifts; letting practicals or windows clip in camera; and unnoticed color drift between angles when window light changes over a two-hour coverage session. Two mitigations: underexpose practicals and windows by 1/3 to 2/3 of a stop below clipping to protect skin and give the colorist room, and run a full rehearsal pass with monitors rolling before you commit to marks.
Efficiency, Safety, and On-Set Operations in Tight Spaces
Cable and power. Plan cable paths before you plant lights, not after. In residential locations, do a real load calculation: a standard US 15A circuit at 120V gives you 1800W nominal, safe continuous draw around 1440W (80% NEC guidance). Two 300W COBs on one circuit is fine; add a coffee maker and a hair dryer on the same breaker and you are on the ground fixing a tripped panel while the sun moves. Know which outlets share a circuit before call time. For deeper power planning, see Location Power Planning: Tie-Ins, Generators, and Load Calculations.
Gear discipline. A minimal modular package beats the full truck. Core kit for a small-space day: two COB keys with Bowens softboxes, two tubes, two mini accents, a 4x4 floppy, a 4x4 216, a 24x36 muslin bounce, a clamp kit, two baby stands, one 20-inch C-stand, a sandbag per stand, extension cables with GFCI on any wet-adjacent circuit, and a labeled stinger inventory. Everything else stays on a cart in the hallway.
Environment. LEDs run cooler than tungsten but still generate heat, and a 10x12 with six bodies, two 300W fixtures, and closed windows gets uncomfortable fast. Crack windows between takes, use a battery fan, and monitor crew fatigue on long dialogue days. DMX or Sidus Link / NanLink app control lets the gaffer trim levels from outside the room, which is worth setting up on day one.
> Pro Tip: Build a base camp outside the room. Battery charging, spare fixtures, and modifiers live in the hallway or adjacent room. The set stays clear, swaps happen out of the way, and the room reads calmer on the monitor.
Common operational failures: overcrowding with non-essential crew, agency, or clients; blocking the primary egress with a stand or cart; and ignoring crew fatigue. Rotate non-essential personnel out during setup, and always walk blocking one last time with every stand and cable in place before the first take.
Common Mistakes
- Blocking without lighting in mind. Impossible setups, constant re-blocking, schedule slippage.
Interface and Handoff Notes
What you receive (upstream inputs):
What you deliver (downstream outputs):
Top 3 failure modes for this specific topic:
Browse This Cluster
- Lighting and Grip Masterclass: Prelight Strategy to Set Execution
Next Steps
Ready to see how this fits into the bigger picture? Start with the complete guide.
📚 Complete Guide: Lighting and Grip Masterclass: Prelight Strategy to Set Execution
---
© 2026 BlockReel DAO. All rights reserved. Licensed under CC BY-NC-ND 4.0 • No AI Training.